
When faced with cracked, broken, or rusted automobile body components, the Bondo Fiberglass Repair Kit presents itself as a practical solution for auto body repair.
This kit allows you to mend these issues efficiently and affordably, circumventing the costly option of part or panel replacement.
Its components are designed to work together to provide a sturdy repair that, when executed correctly, may restore the integrity and appearance of your vehicle.
In this article, I will guide you through the process of using the Bondo Fiberglass Repair Kit to fix your damaged surfaces.
Table Of ContentsBefore attempting any repairs with the Bondo Fiberglass Repair Kit, it’s crucial to take the necessary safety precautions, gather all the required materials, prepare the surface correctly, mix the Bondo resin properly, and cut the fiberglass cloth to size. ==>> You might also be interested in reading my Bondo fiberglass repair kit review here.
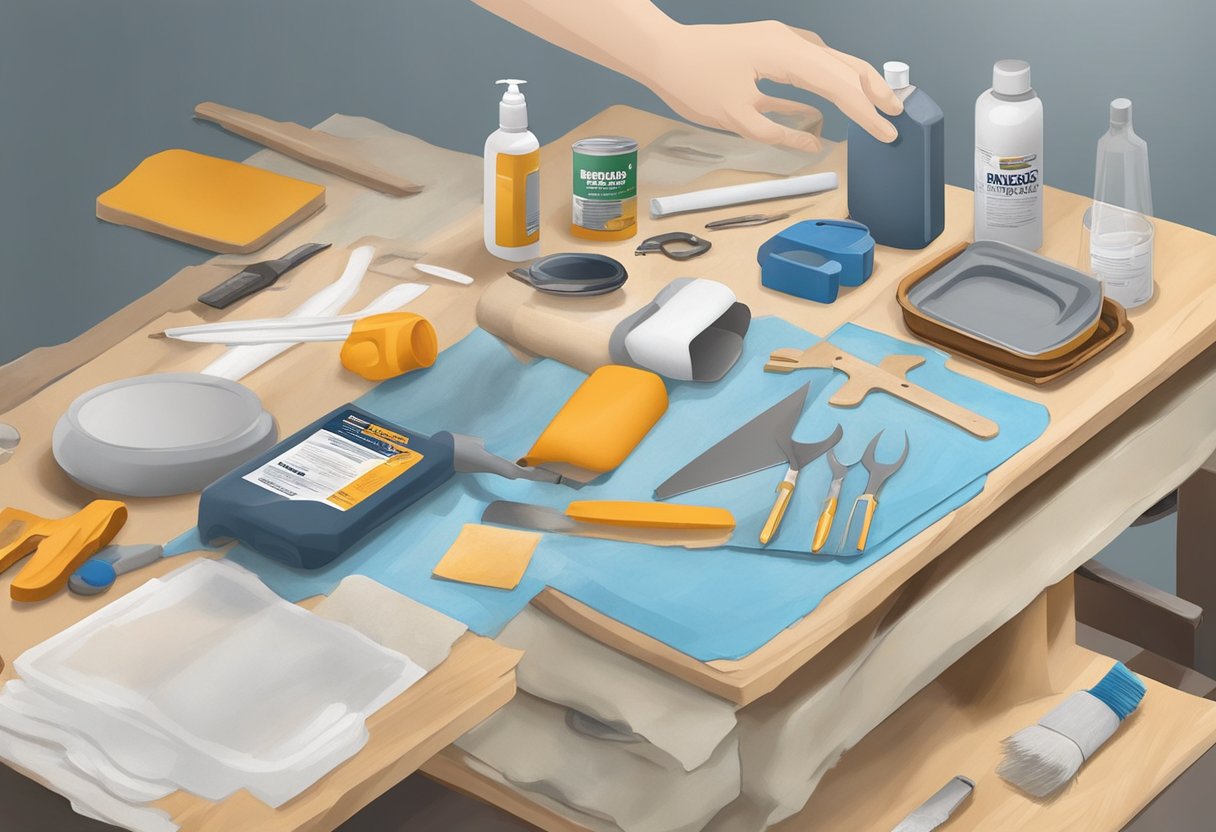
Acquire all the necessary items before you start. You’ll need some essential tools for the task:
When using the Bondo Fiberglass Repair Kit, it is important to take the following safety precautions:
Before beginning, thoroughly examine the fiberglass to determine the extent of the damage. Look for cracks, holes, soft spots or delamination.
This inspection allows you to formulate a repair plan accounting for all issues. Measure any problem areas to help calculate material needs.
Use 80 to 120 grit sandpaper to rough up a 2” perimeter around the damaged section, feathering as you expand outward.
This ragged edge provides ample texture to bind with repair materials. Blow away or vacuum dust. Wipe with a tack cloth.
The Bondo kit contains a lightweight filler and cream hardener. In a disposable container, measure equal parts of both components and stir thoroughly for 2-3 minutes.
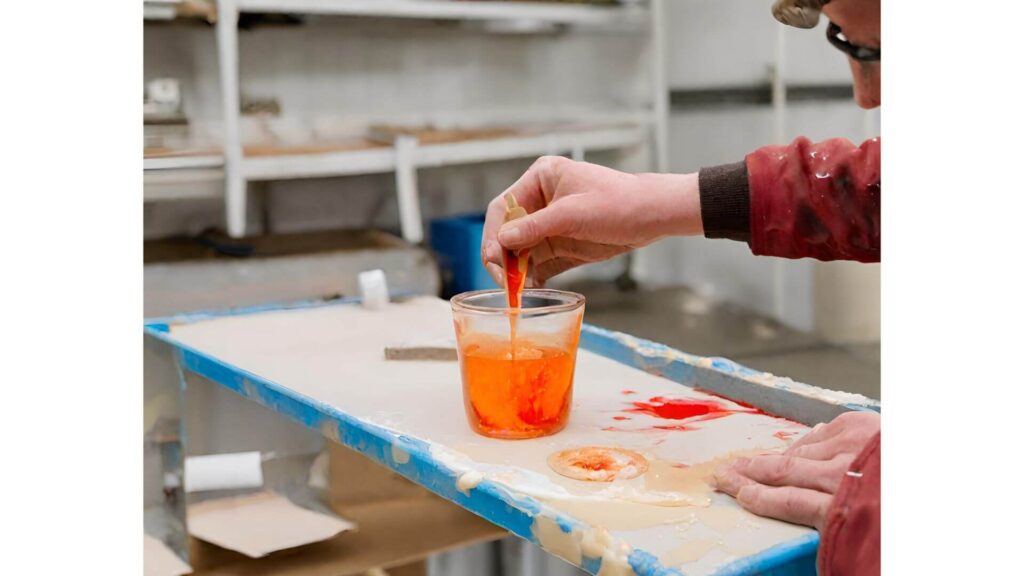
This triggers the hardening process, so only mix what you can apply during the viable working time.
Utilize a body filler applicator to transfer the mixture over the damaged fiberglass area. Level with a spreader. Allow 10-15 minutes between thin layers.
Apply at least two coats, allowing the finale to slightly overfill. Let cure per packaging directions.
For holes, large cracks or extensive delamination, the Bondo kit includes fiberglass cloth to provide extra reinforcement.
After prepping the area, mix resin per instructions and apply a layer using a disposable brush. Embed tapes of the cloth, pressing firmly so it absorbs resin.
Use the brush to fully saturate the fabric. Add another thin coat of resin over top. Let it begin curing before mixing the filler and applying it over the cloth as outlined above.
The fiberglass cloth aids repairs by:
This integral cloth, combined with the lightweight filler, enables you to rebuild significant fiberglass defects for a lasting fix.
Use it whenever the damage extends across a wide span or reflects extensive underlying compromise of the composite beneath gelcoat.
The steps above outline seamlessly integrating the cloth into the repair process for robust, revitalized fiberglass.
You might also be interested in reading my full guide on how to use any type of fiberglass repair kit here.
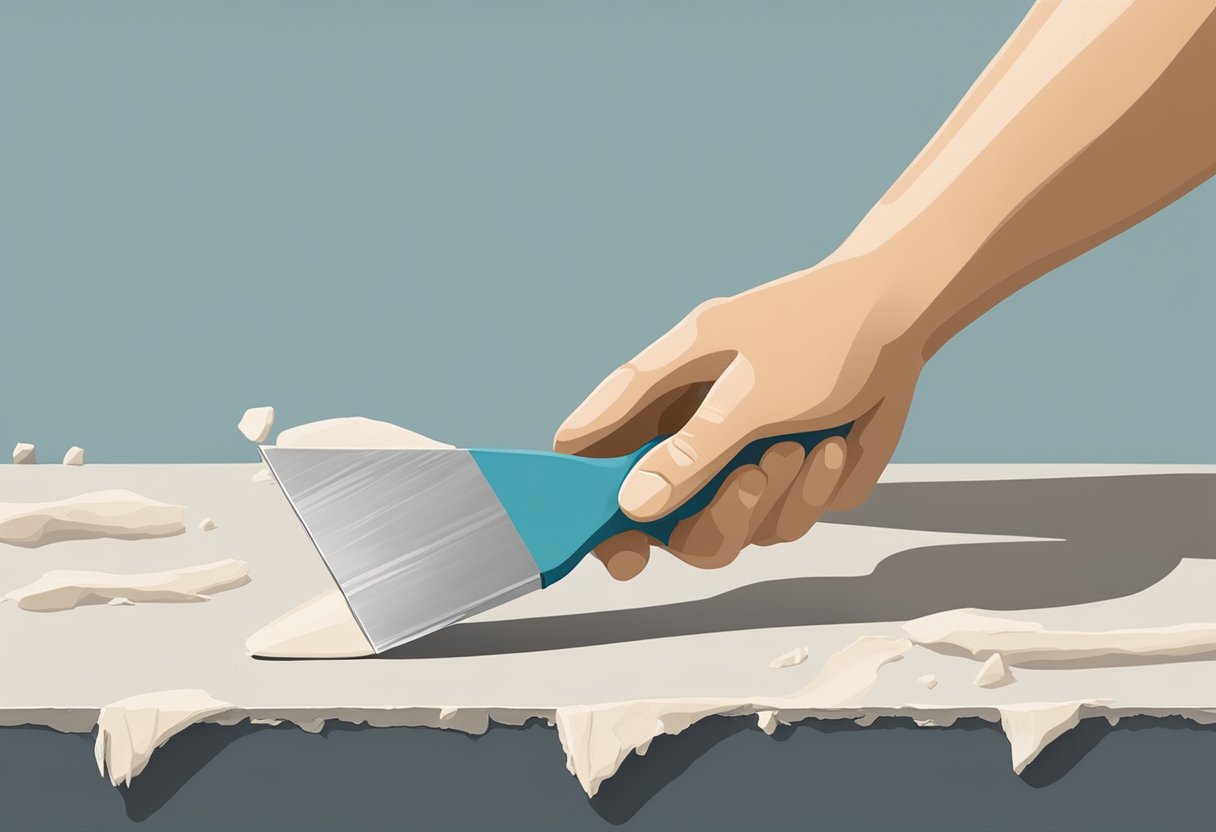
Once fully hardened, contour with 80-120 paper to blend with surrounding fiberglass. Avoid over-sanding. The thinner the layer, the better.
Finish by priming and painting per your specifications.
After successfully applying the Bondo Fiberglass Repair Kit to the damaged area, it’s crucial to apply the finishing touches to ensure a seamless and professional appearance.
These final steps involve applying primer, along with precise painting and polishing, to match the existing surface.
Before you begin painting, it’s imperative to apply a primer to the repaired area. This will help the paint adhere better and provide a uniform surface for the topcoat.
Once the primer is dry, you can move on to painting. Choose a paint that closely matches your vehicle’s color for a consistent look.
Utilize these techniques to achieve a durable and virtually undetectable repair that restores the appearance of your vehicle.
For a concrete example of the application process and a visual demonstration, references such as this Bondo fiberglass repair kit review can be particularly helpful.